POS
Use POS checkout
Sell accessories, devices, services and repair-related items from the same stock and customer records.
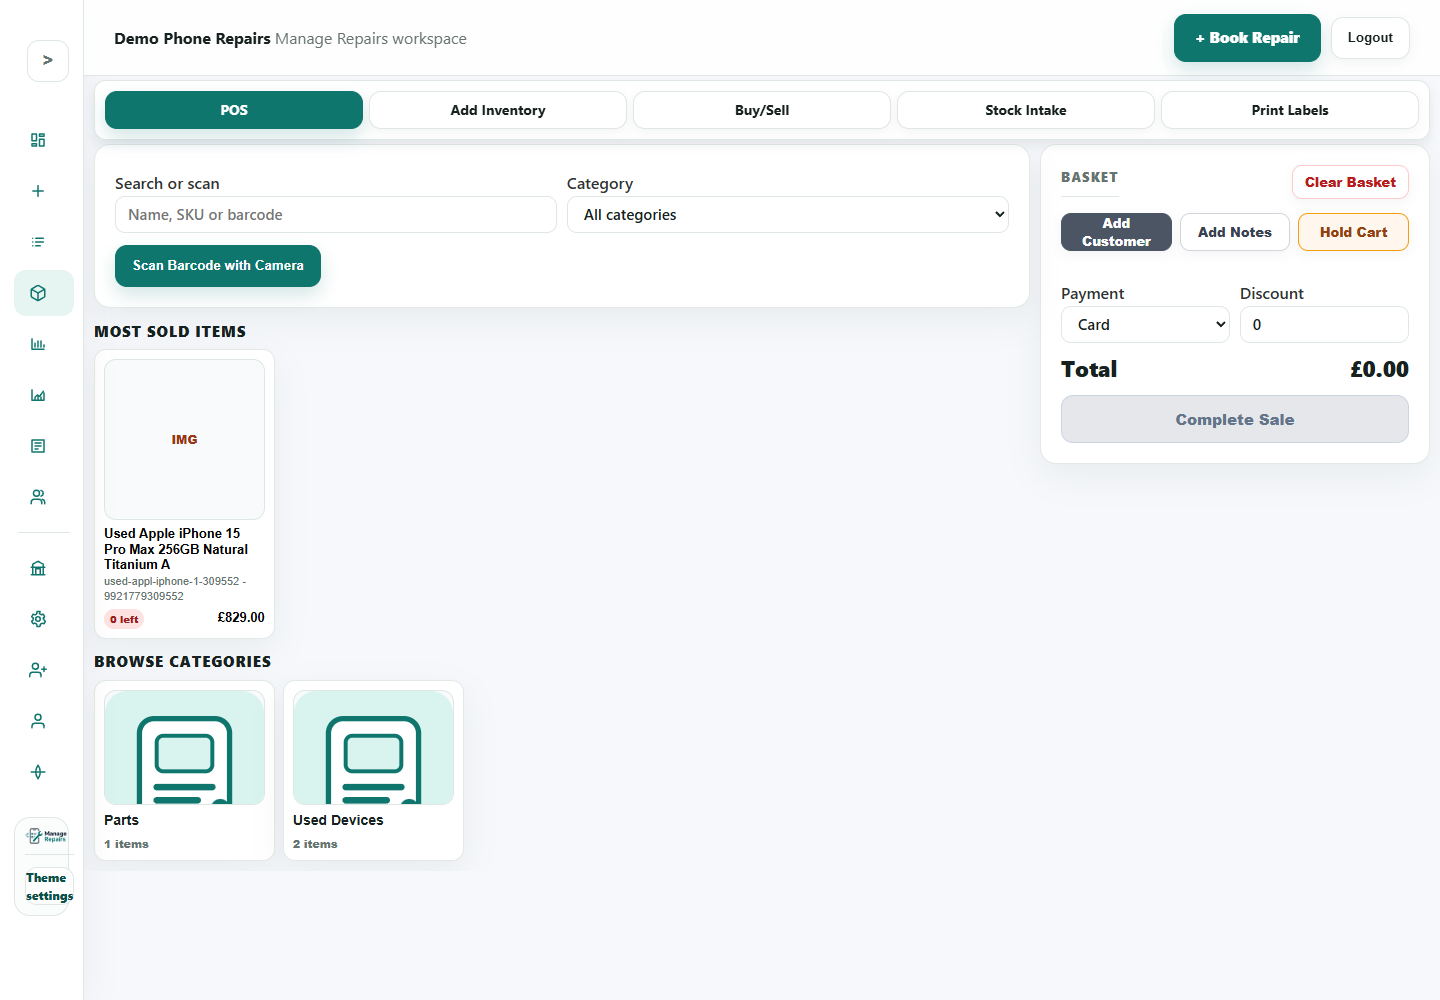
Before you start
Manage POS is for counter sales. It uses the same inventory and customers as the repair workspace, so retail sales and service history stay connected.
Important sections on this page
Use these focused screenshots when matching the guide to the real screen.

Search, scan or browse
Start a sale by searching for a product, scanning a barcode or browsing common items.
- Search by product name, SKU or barcode.
- Use the camera scan button where barcode scanning is part of the counter process.
- Use categories when staff do not know the exact product name.
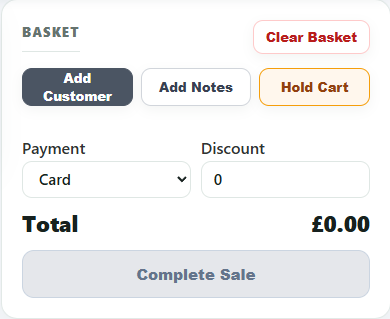
Basket and payment
The basket is where the sale is checked before payment is completed.
- Add a customer when the sale should appear in their history.
- Add notes for useful sales context.
- Choose payment method and confirm the total before completing the sale.
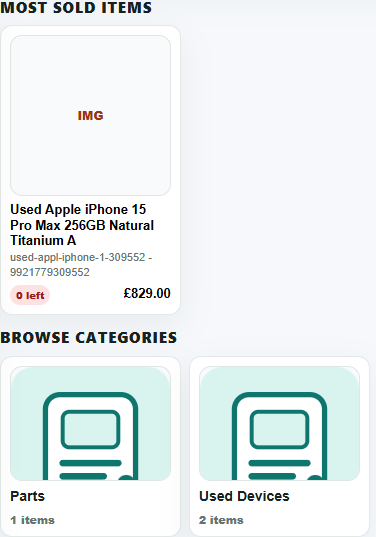
Most sold items and categories
Product cards and categories help counter staff sell common accessories quickly.
- Keep common products named clearly for quick selection.
- Review zero-stock items so staff do not sell unavailable products.
- Use categories to keep parts, accessories and used devices separate.
Step-by-step
- Open Inventory, then choose POS, or use the Open POS button from inventory.
- Search for an item by name, SKU or barcode.
- Add products or services to the basket.
- Add a customer when you want the sale connected to their history.
- Choose payment method and add discount if needed.
- Complete the sale when the basket total is correct.
- Use Hold Cart if you need to pause one basket while serving another customer.
Good to know
Keep product names and SKUs clean so staff can find items quickly.
Use POS reports to check sales after a shift or at the end of the day.