Settings
Customise settings, labels, SMS and booking forms
Adjust branding, repair form fields, labels, statuses, customer portal, email, SMS, security and backups.
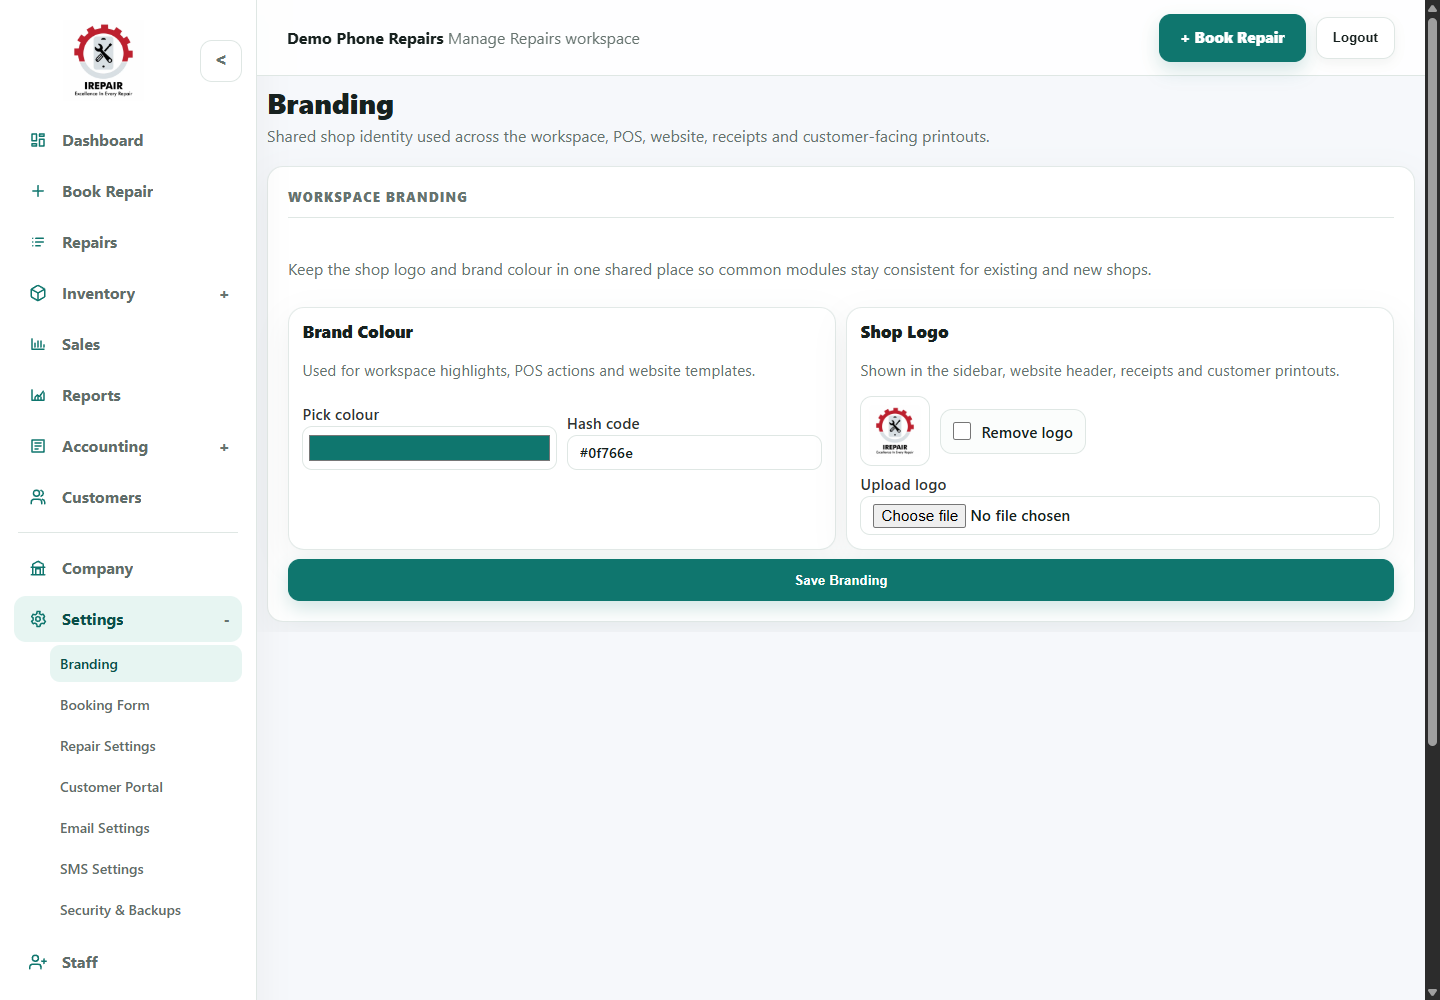
Before you start
Settings control how the workspace behaves for your shop. Owners should review these before giving staff full daily access.
Important sections on this page
Use these focused screenshots when matching the guide to the real screen.
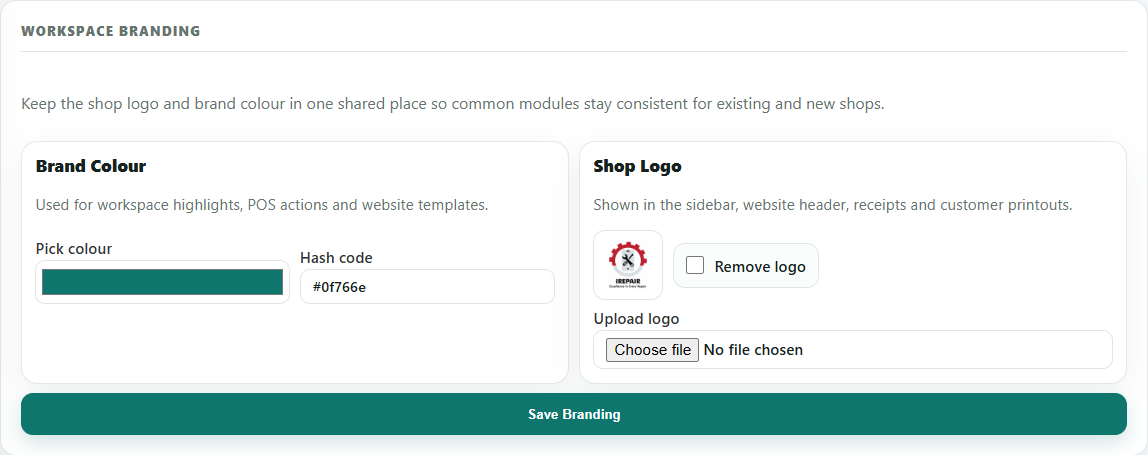
Brand colour and logo
Branding controls the shared shop identity used across the workspace, POS, website and customer-facing printouts.
- Pick a brand colour that remains readable on buttons and highlights.
- Upload a clear shop logo for receipts, sidebar and website use.
- Save branding after checking the preview looks correct.
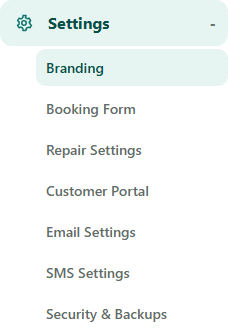
Settings menu areas
Use the settings submenu to move between branding, booking form, repair settings, customer portal, email, SMS, security and backups.
- Review Booking Form before staff start taking repairs.
- Use Email and SMS settings for customer communication setup.
- Use Security and Backups to review account protection.
Step-by-step
- Open Settings from the sidebar.
- Use Branding to set shop identity and colour options.
- Use Booking Form to adjust the fields staff complete when booking repairs.
- Use Labels Settings to manage labels, statuses and checklist items.
- Use Customer Portal settings to control what customers see on tracking pages.
- Use Email Settings and SMS Settings for customer communication setup.
- Use Security and Backups to review account protection and data options.
Good to know
Keep the booking form simple enough for staff to complete while a customer is waiting.
Test SMS settings before relying on automated customer messages.