Getting started
Use the first-time setup wizard and starter data
Choose language, shop details, logo and whether to import industry starter categories or sample products.
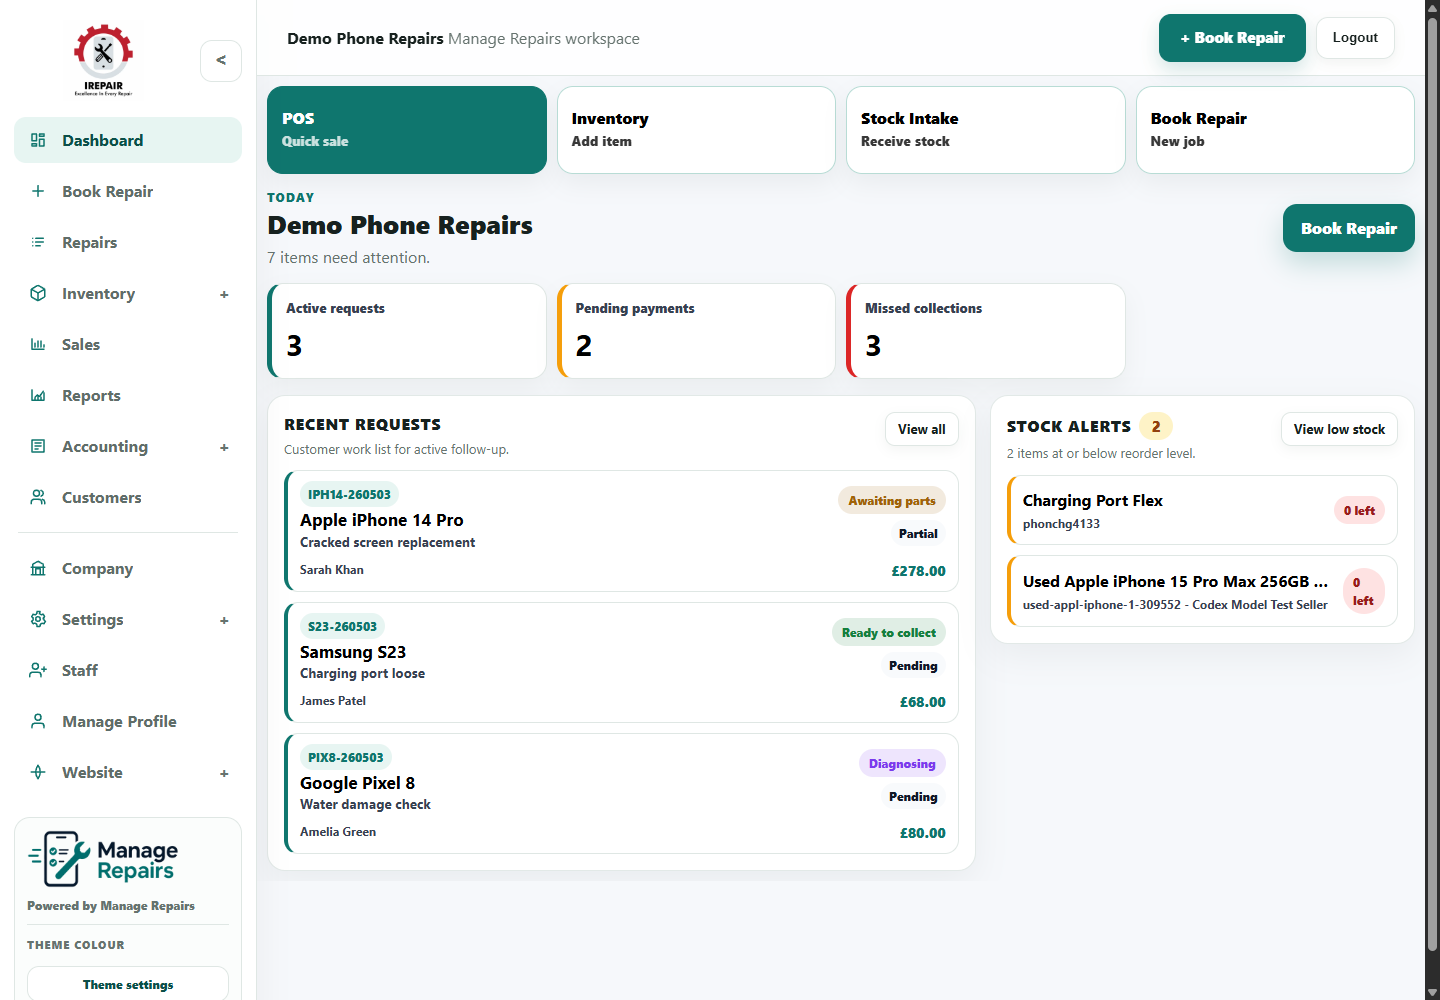
Before you start
The setup wizard helps a new shop get the workspace ready without being pushed into every advanced setting at once.
Step-by-step
- Log in to the new workspace and open the Dashboard.
- Choose the workspace language when the setup wizard asks for it.
- Add the shop name, contact details and logo where available.
- Review the starter import preview for the selected industry.
- Choose Skip, Categories only, or Categories with sample products.
- Finish the wizard, then continue with the first real repair, customer, stock item or POS sale.
Good to know
Categories only is usually cleaner for shops that already know their own products.
Categories with sample products can help a new user understand how stock records look before entering real stock.
Options and limitations
Options
- Skip import leaves the shop mostly empty.
- Categories only imports the industry structure without sample products.
- Categories with sample products imports example items as well as categories.
- The shop website is enabled by default during setup and can be turned off later by the shop admin.
Limitations
- Starter data is a useful starting point, not a complete supplier catalogue.
- Sample products should be reviewed before they are used for real selling or stock control.
- The wizard is intended for first-time setup; after completion, ongoing changes are made from the normal sidebar sections.