Paramètres
Personnaliser paramètres, étiquettes, SMS et formulaires
Ajustez l’identité visuelle, les champs de réparation, les étiquettes, statuts, portail client, e-mails, SMS, sécurité et sauvegardes.
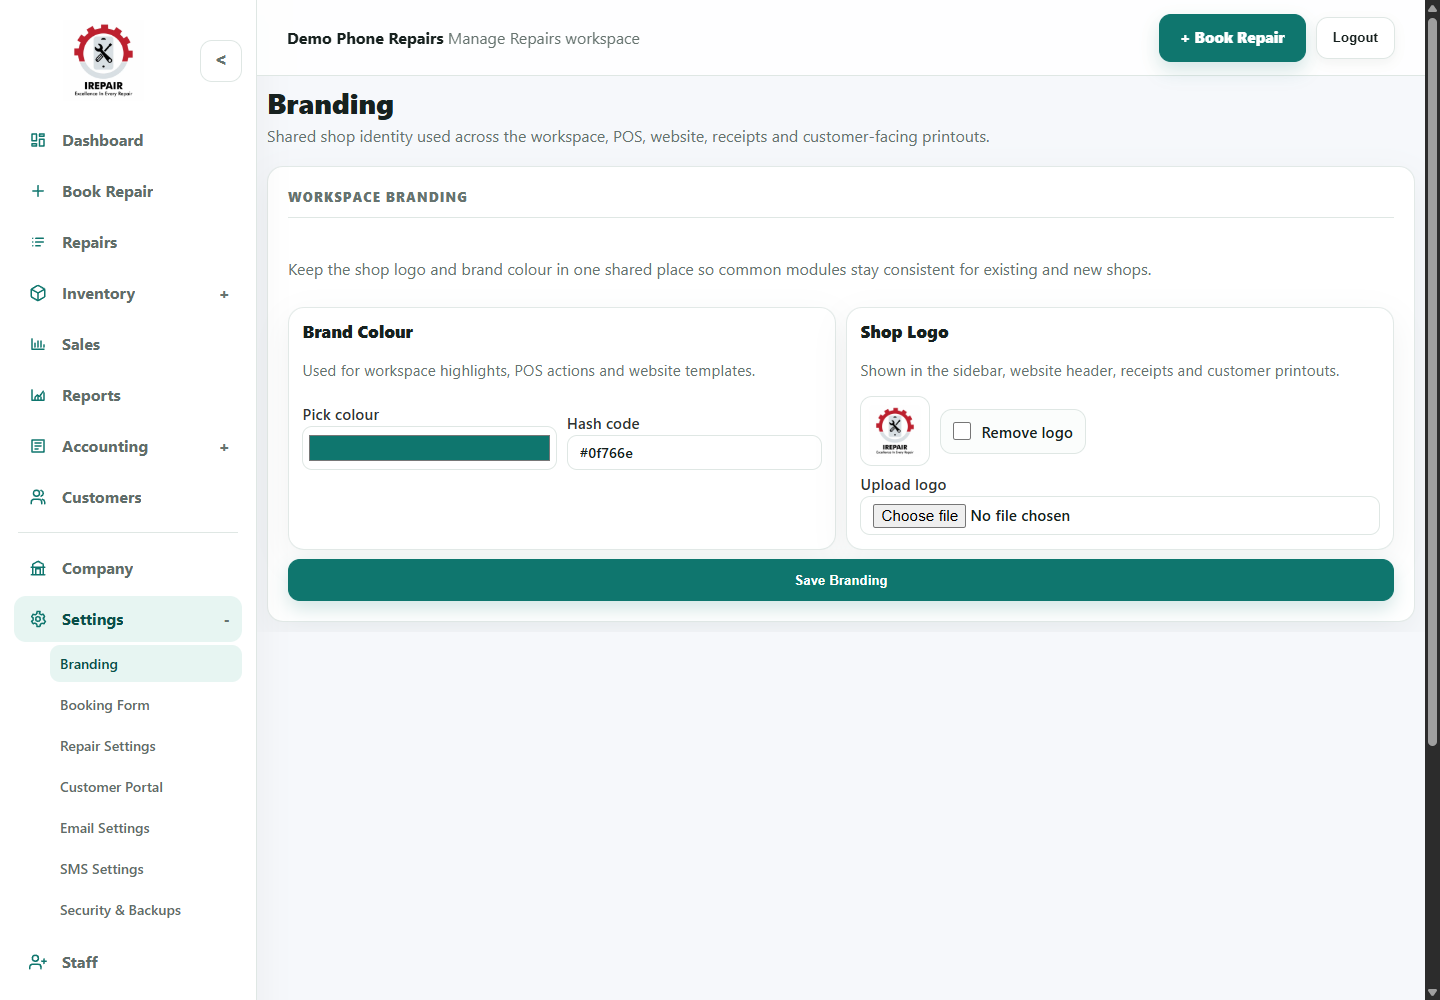
Avant de commencer
Les paramètres adaptent l’espace à la façon dont votre boutique travaille réellement.
Sections importantes de cette page
Utilisez ces repères pour retrouver la bonne zone dans l’écran réel.
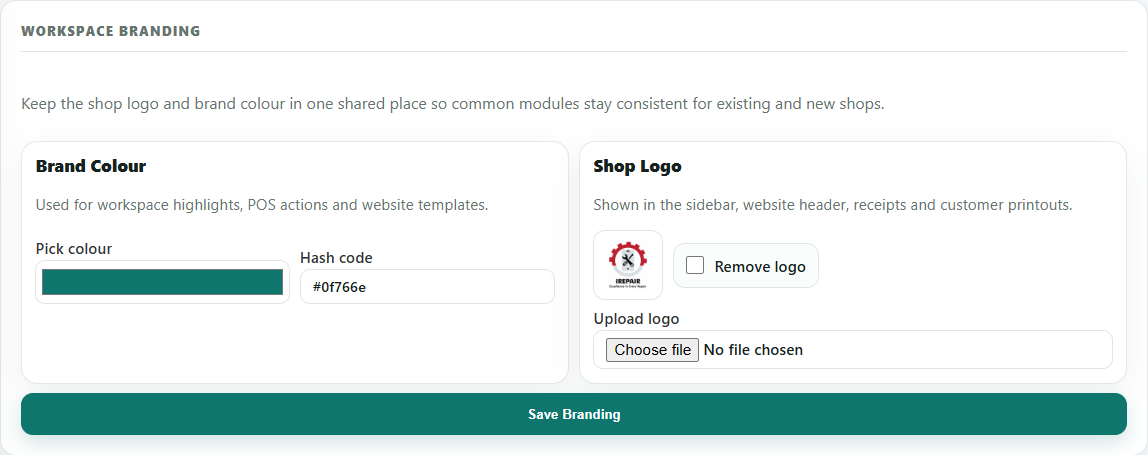
Brand colour and logo
Branding controls the shared shop identity used across the workspace, POS, website and customer-facing printouts.
- Pick a brand colour that remains readable on buttons and highlights.
- Upload a clear shop logo for receipts, sidebar and website use.
- Save branding after checking the preview looks correct.
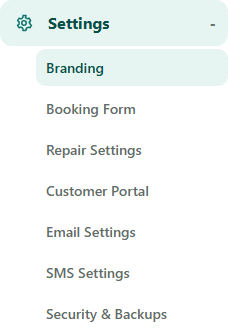
Settings menu areas
Use the settings submenu to move between branding, booking form, repair settings, customer portal, email, SMS, security and backups.
- Review Booking Form before staff start taking repairs.
- Use Email and SMS settings for customer communication setup.
- Use Security and Backups to review account protection.
Étapes
- Open Settings from the sidebar.
- Use Branding to set shop identity and colour options.
- Use Booking Form to adjust the fields staff complete when booking repairs.
- Use Labels Settings to manage labels, statuses and checklist items.
- Use Customer Portal settings to control what customers see on tracking pages.
- Use Email Settings and SMS Settings for customer communication setup.
- Use Security and Backups to review account protection and data options.
Bon à savoir
Keep the booking form simple enough for staff to complete while a customer is waiting.
Test SMS settings before relying on automated customer messages.