Inventory
Create a new inventory item
Add one product with product details, barcode, category, supplier, stock quantity and pricing.
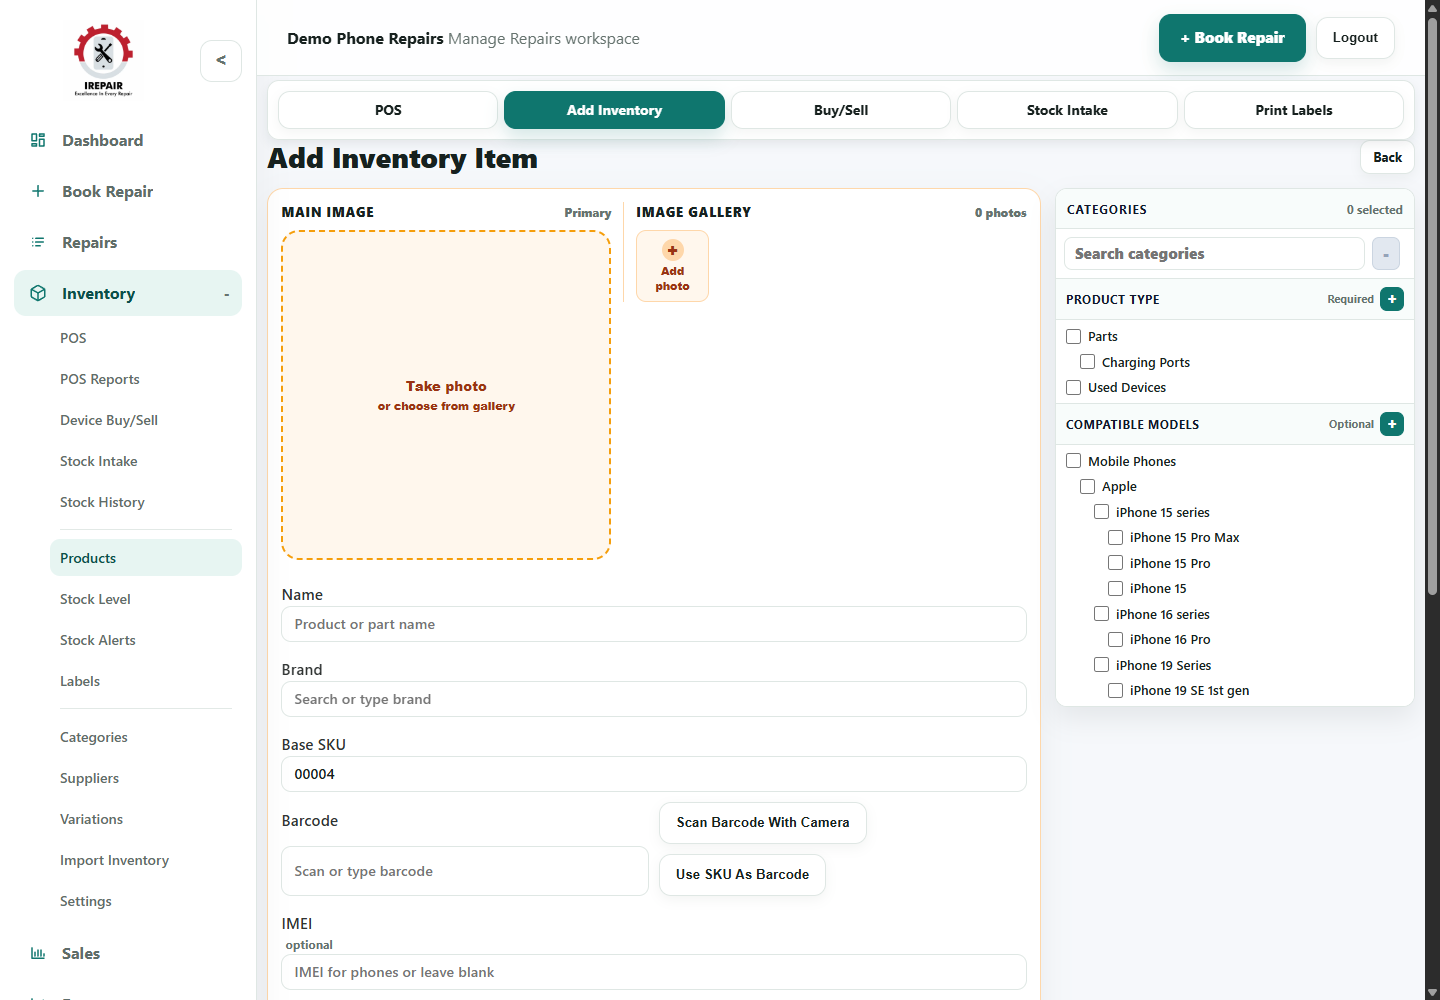
Avant de commencer
Use the add inventory form when a new part, accessory, service or sale item needs to be available in the system.
Sections importantes de cette page
Utilisez ces repères pour retrouver la bonne zone dans l’écran réel.
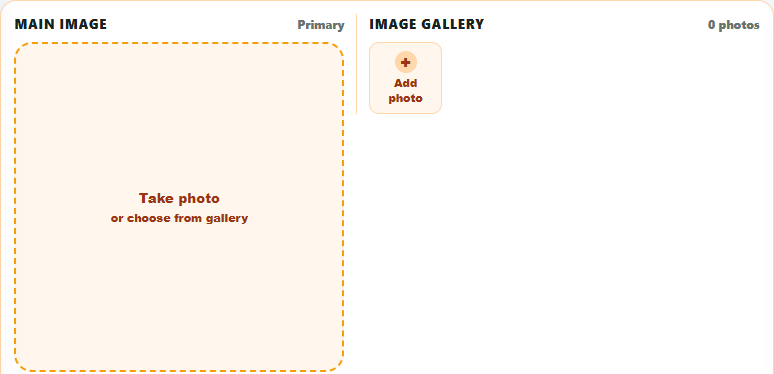
Product images and main details
Start the product with a clear image and a name that staff can recognise in search and POS.
- Use the main image for items that will appear online or in POS cards.
- Add a practical name with model, colour, storage or grade where needed.
- Avoid duplicate names that make stock searches confusing.
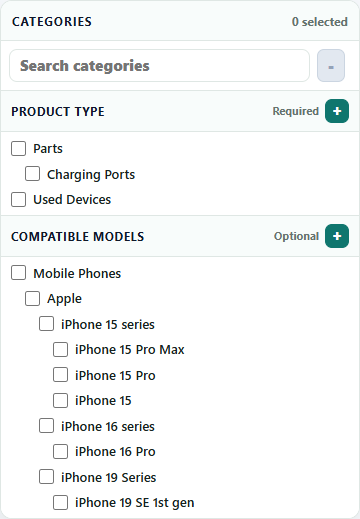
Categories and applies-to groups
The category panel keeps product types and the item, device or vehicle groups they apply to organised.
- Choose the right product type so reporting and filters work properly.
- Use the applies-to section for devices, vehicle types or item types where needed.
- Keep category names consistent across the shop.
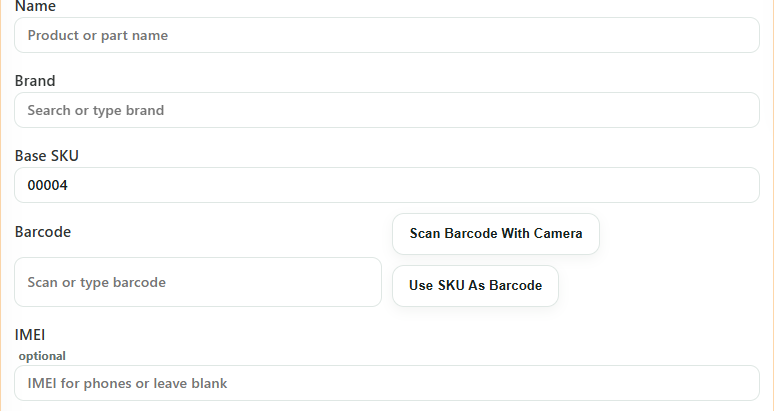
Barcode, SKU and IMEI
Identifiers help with scanning, labels, POS sales and used-device records.
- Use SKU as barcode when your shop does not have supplier barcodes.
- Scan barcodes where possible to reduce typing mistakes.
- Add IMEI for used phones or devices that need individual tracking.
Étapes
- Open Inventory and choose Add Inventory.
- Enter the product name staff will recognise at the counter.
- Add SKU or barcode details if your shop uses scanning.
- Choose the right category and supplier.
- Add current stock quantity, reorder level, cost and retail price.
- Save the item and check it appears in the inventory list.
Bon à savoir
Avoid duplicate product names. Add model, colour, grade or storage where needed.
Use the barcode field when you want fast scanning in POS or labels.